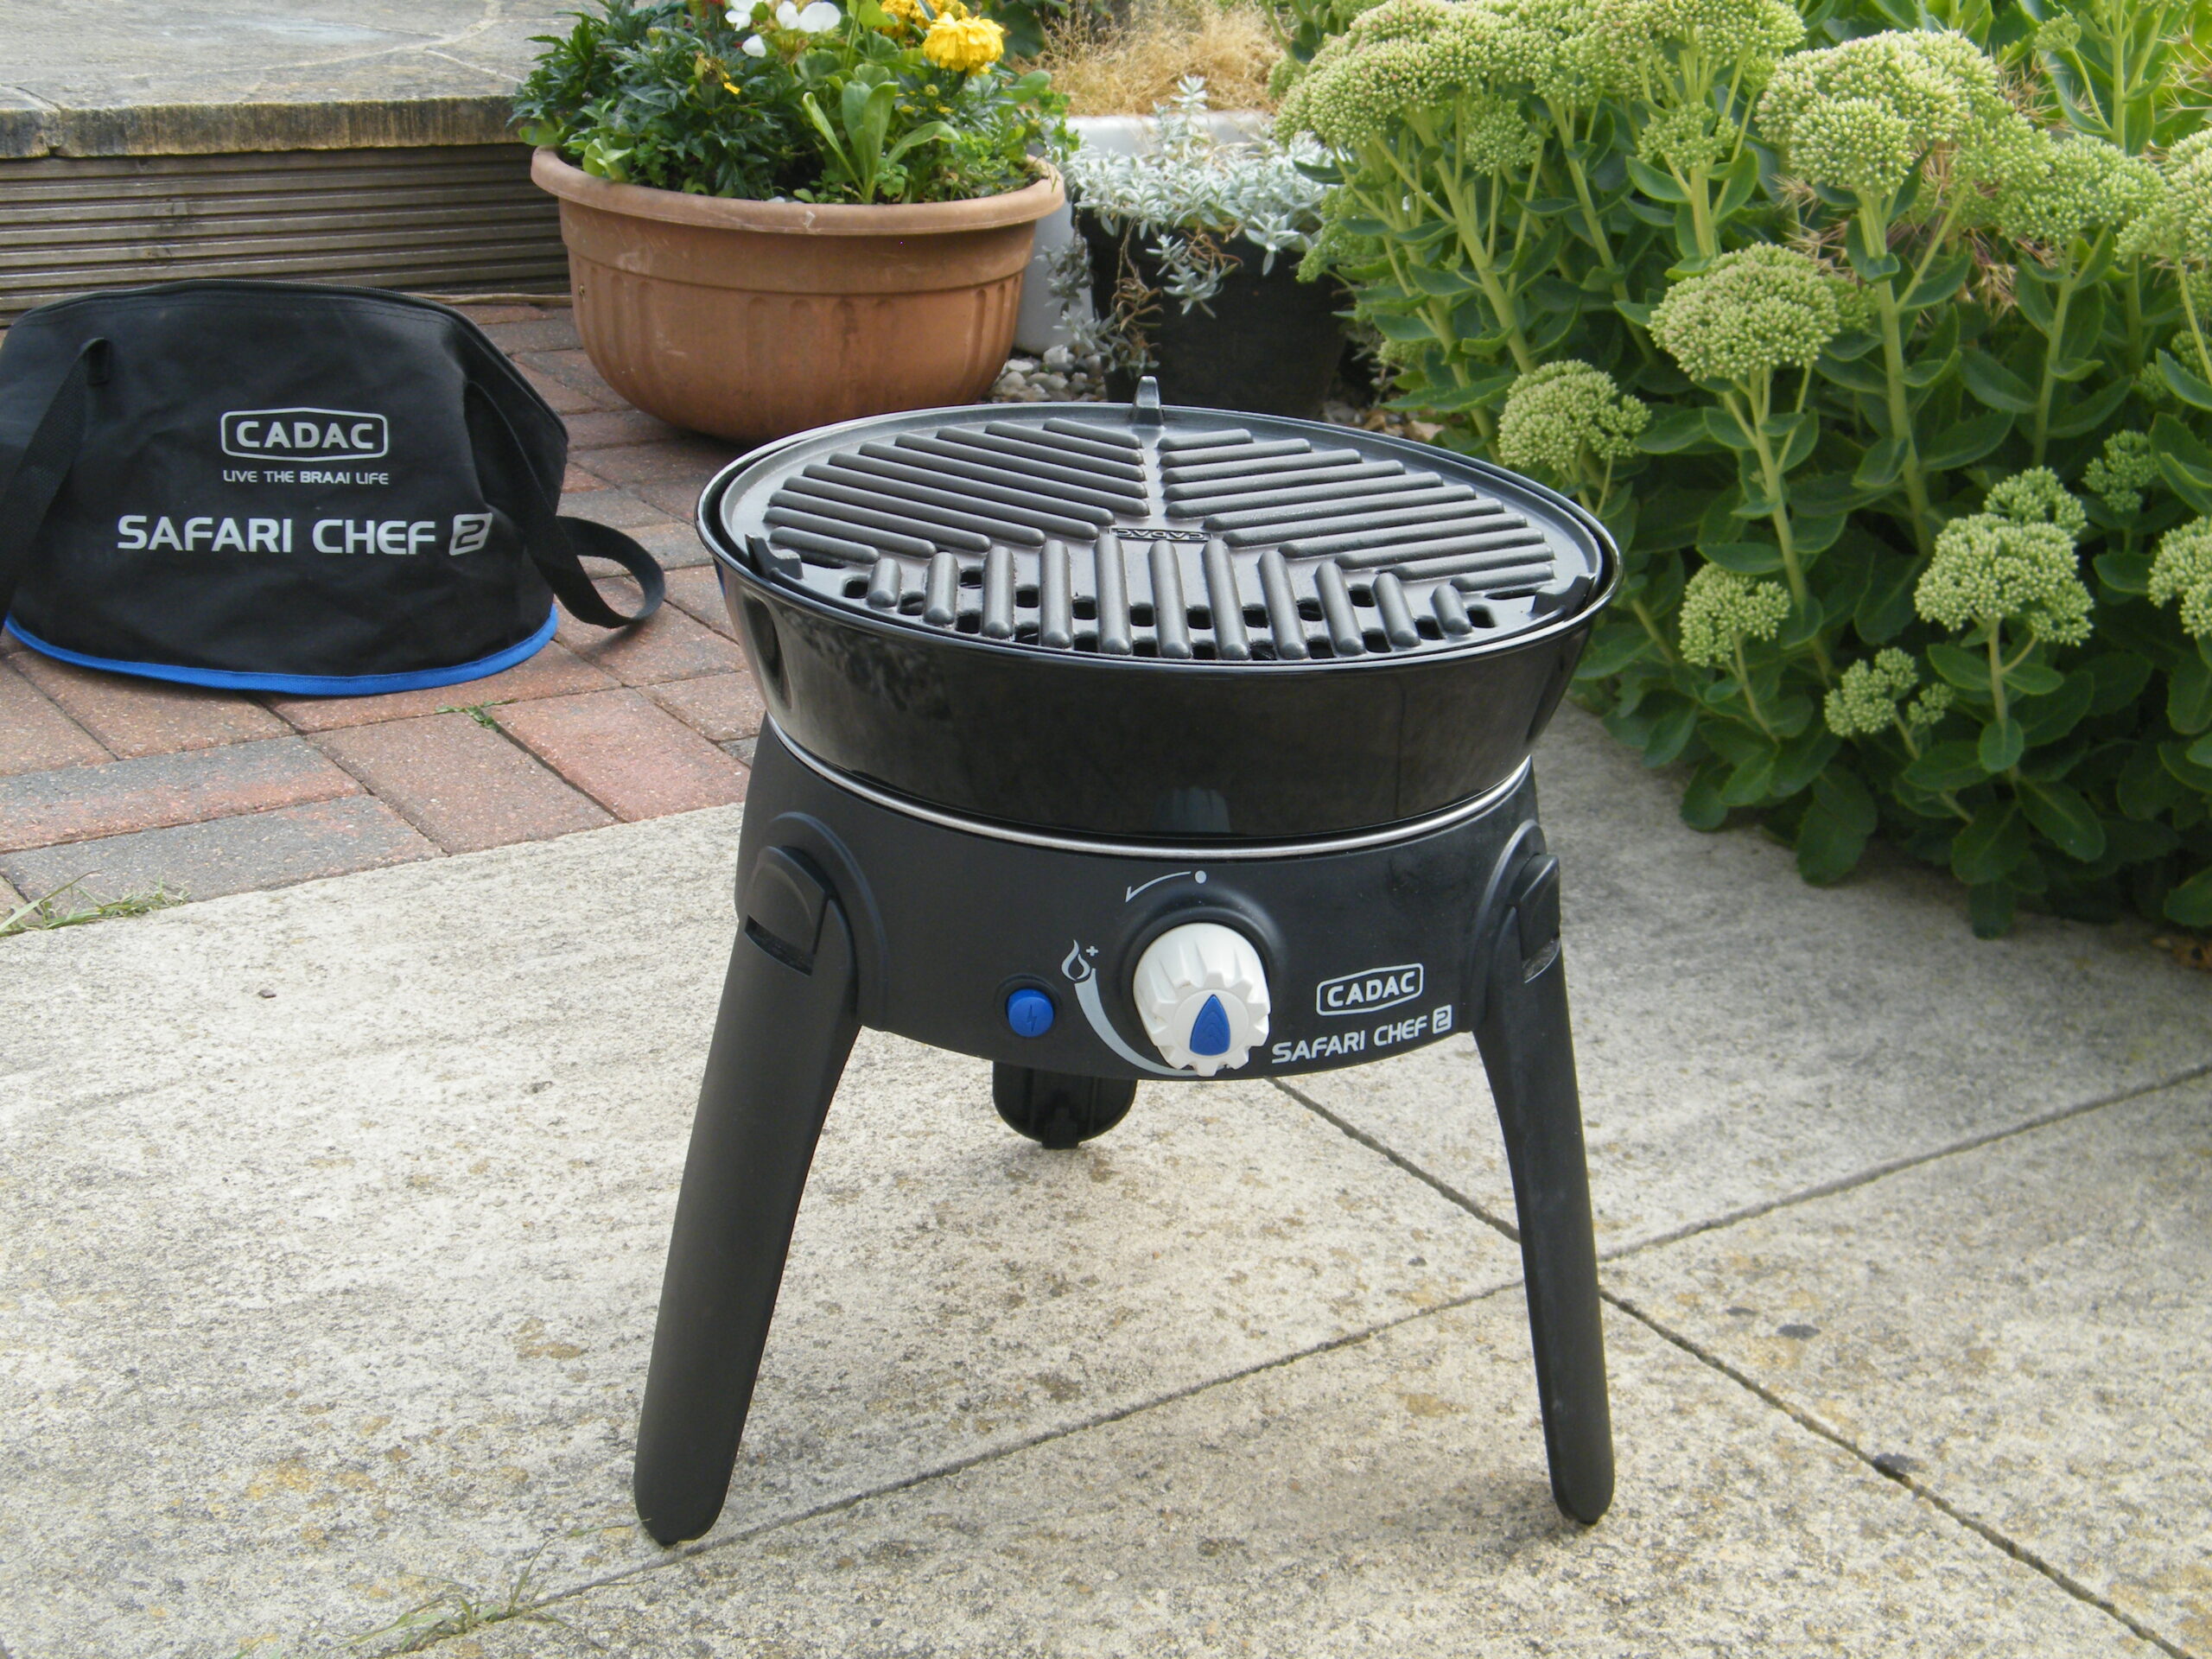
Assembling the cadac safari chef 2 low pressure bBQ
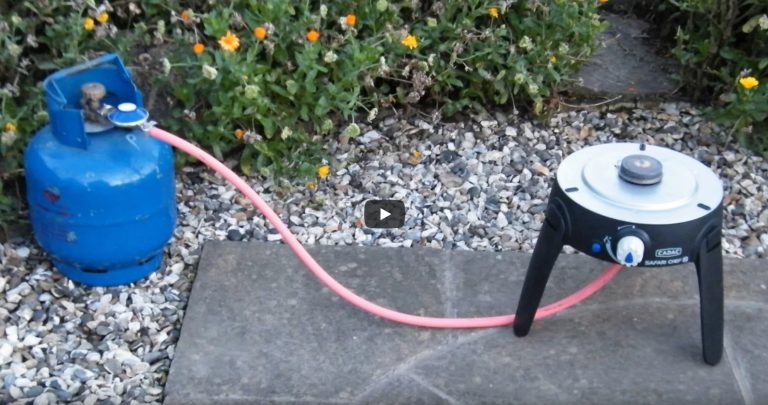
This is a review of how to assemble the Safari Chef 2 BBQ. If you were planning to assemble the BBQ and then begin cooking then obviously you’d want to connect the gas first. We cover connecting the BBQ to a gas supply in our next section.
easy peasy!
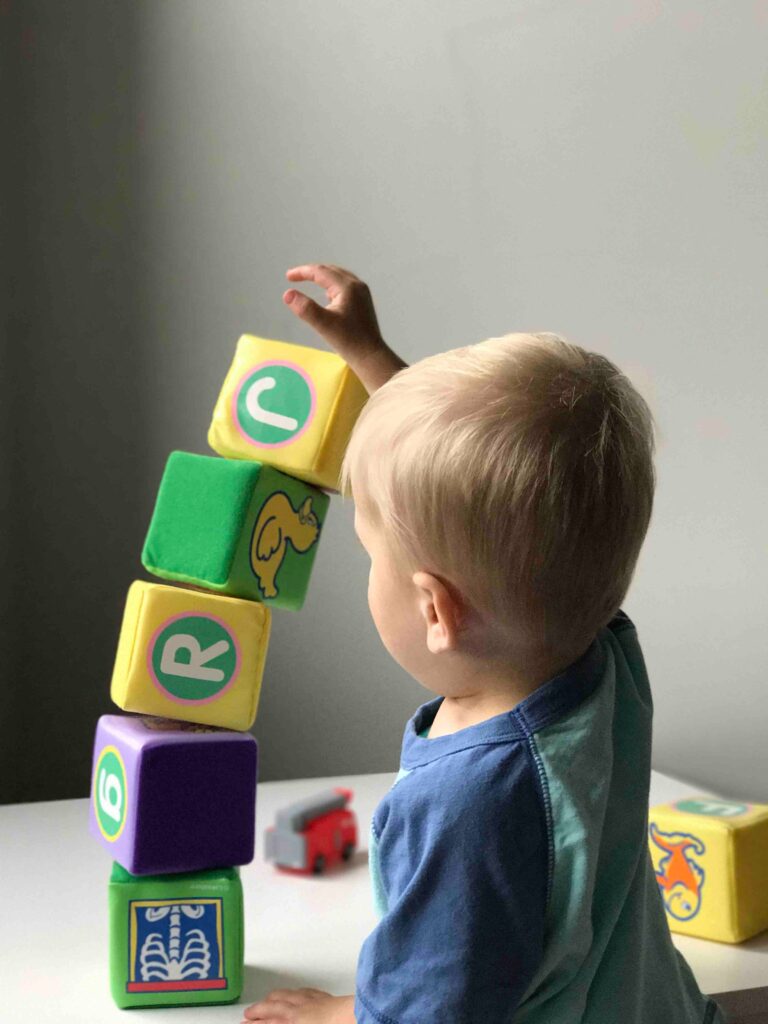
“It’s so easy and simple to assemble, a toddler could do it”
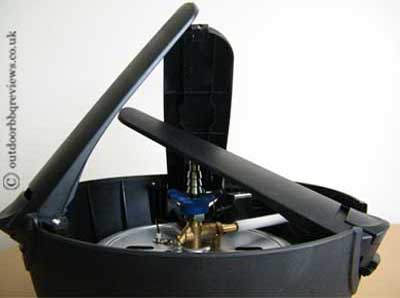
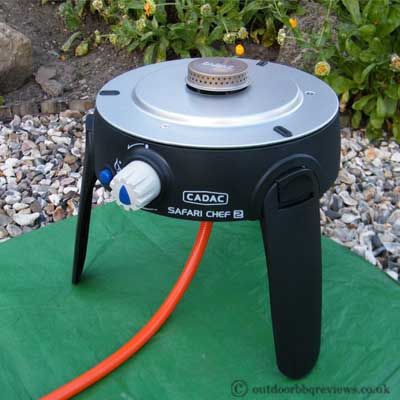
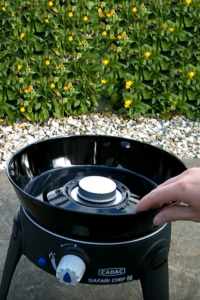
Legs
Simply pull out the legs until you hear a click. The click is the sound of the legs locking into place. As the legs are spring-loaded you will feel a minor resistance when pulling out the legs.
Duis aute irure dolor in reprehenderit in voluptate velit esse cillum dolore eu fugiat nulla pariatur. Excepteur sint occaecat cupidatat non proident.
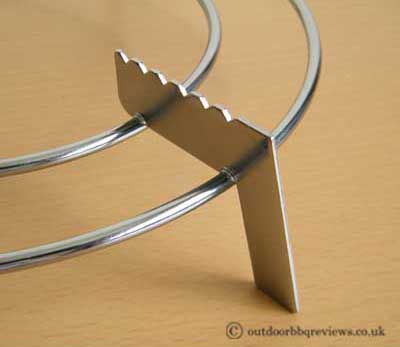
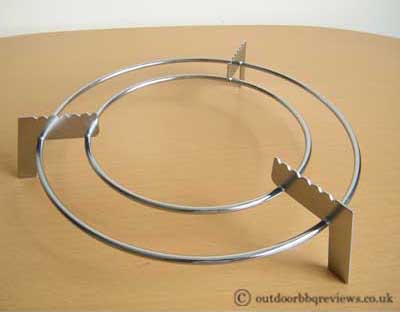
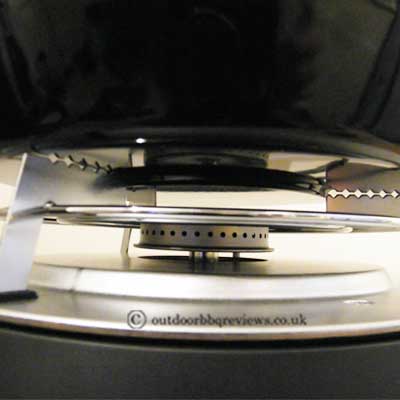
Next we’ll add the Pot Stand to the BBQ.
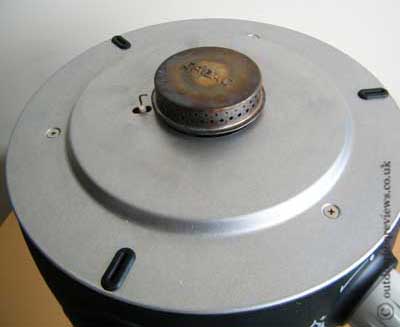
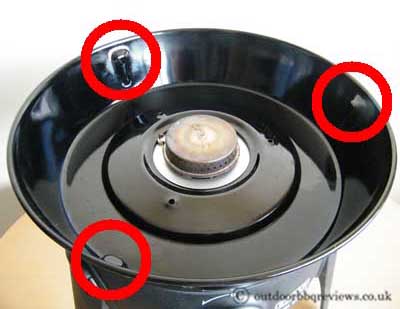
Remember those black things on the heat shield? well they are rubber slits cut into the heat shield.
The Pot stand feet slot into these rubber slits and once in place the pot stand doesn’t move.
The feet fit a few mm into the slits and the legs don’t wiggle about once in place.
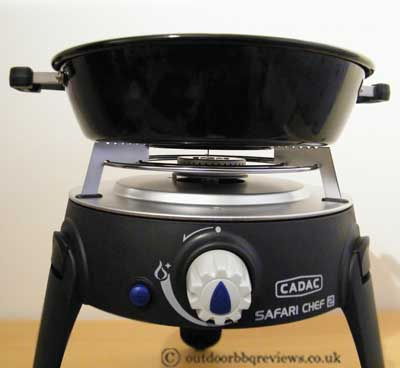
Adding the lid/wok to the Pot Stand
Adding the lid/wok to the pot stand is as simple as just picking up the lid and popping it on top of the Pot Stand and that’s it. It’s on.
Once in place the lid/wok won’t slide off because the lid/wok bottom fits inside the Pot Stand. See the close up photo above.
For the next part we need to first remove the lid/wok and pot stand. Whilst not in use put them back into the bag or somewhere safe.
Placing the Chef pan on top of the Pot stand
It’s possible to place the Chef pan onto of the pot stand. The Chef pan’s heat defector shield sits inside the pot stand and so will not move once in place.
Placing the chef pan on top of the pot stand is ok on nice warm sunny days but if it’s breezy out then you run the risk of flame blow outs.
To be fair it takes 2 seconds to add the fat pan. So just place the Chef pan in the fat pan, that way you’ll get more heat and protection from the wind.
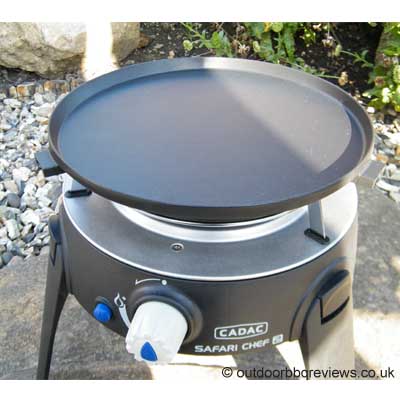
Adding the Fat Pan
Simply place the Fat Pan onto the Safari Chef 2 BBQ heat shield and that’s it. The rubber slits also act as grips for the Fat Pan. So once in place the Fat Pan is effectively stuck to the Main BBQ Unit.
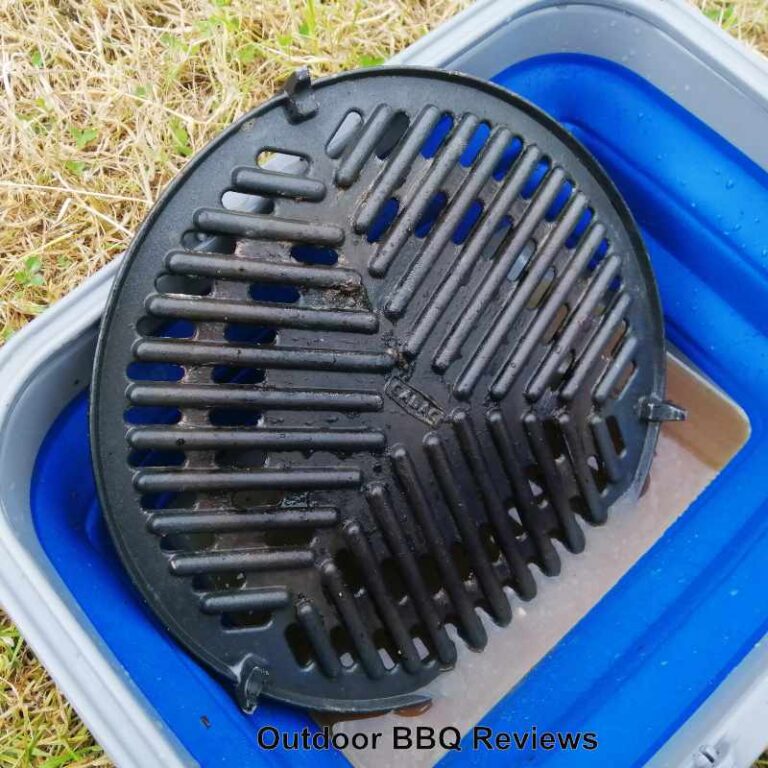
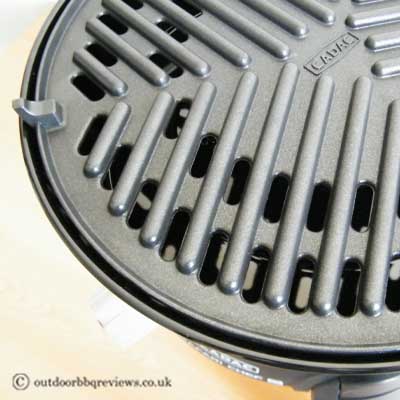
Adding the Grid Plate
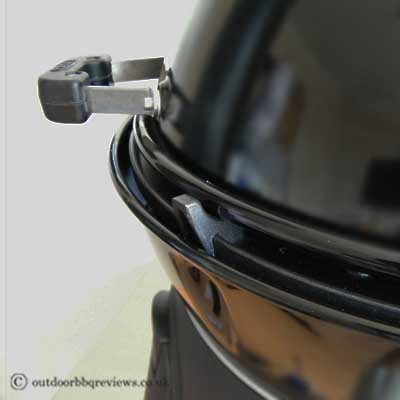
Inside the Fat Pan are 3 locator shelves and there are 3 locator hooks on the Grid Plate.
Simply align and lower the Grid Plate down onto the locator shelves. Once in place the Grid Plate is very secure with no movement at all. There’s barely any gap at all around the edge of the Grid Plate so this keeps a lot of the heat inside and under the Grid Plate allowing the BBQ to heat up and cook quickly.
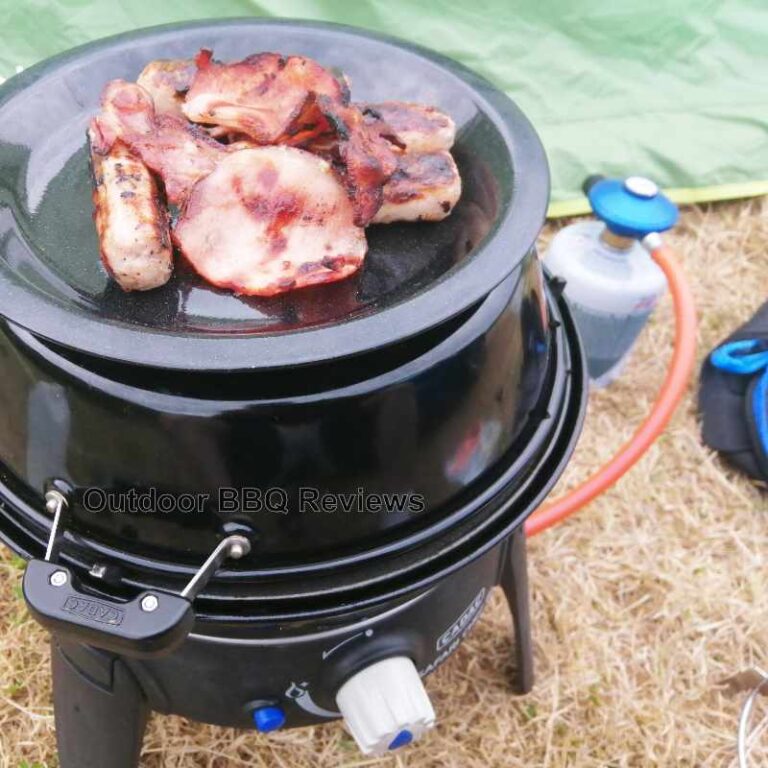
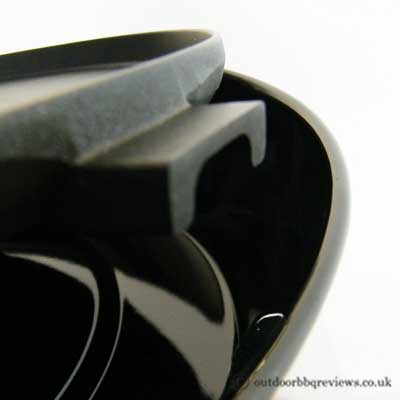
You can also place the Lid on top of the Grid Plate which is useful for keeping the food warm or increasing the cooking temperature even more. The lid sits on top of the little Grid Plate handles.
The lid does not create a heat seal as there is a gap between the Grid Plate and the edges of the lid.
This can allow some air flow into the BBQ which could cool your food down. So don’t leave your food too long under the dome.
Removing the Grid Plate via its little handles can be a little tricky as the handles are very small and need nibble fingers. But once you’ve got the Grid Plate up a little you can easily lift it out of the Fat Pan.
Adding the Chef Pan
Just like the Grid Plate the Chef Pan has 3 locator hooks that sit on the 3 locator shelves found inside the Fat Pan.
Turning the Safari Chef 2 into an Oven
I said earlier in this review there was a reason for the Chef Pan being a little smaller than the Grid Plate. Well the reason is so that the lid can be placed on top of the Chef Plate with the Chef Pan inside of the lid.
If you compare this image to the one of the Grid Plate you’ll see that you can’t see the Chef Pan other than it’s handles which the lid is resting on. The Chef Pan is inside of the Lid which help contain all the heat and so keeps the food warm.
There is a small gap around the edge and this allows excess heat to escape from the Fat Pan. The gap is about 1cm.
Place the lid on top of the Chef Pan and this will turn the Safari Chef 2 into a mini oven. You can’t really call this a BBQ can you? It’s clearly just a oven on legs 🙂
The lid sits on the top side of the Chef Pan hooks. This means that the Chef Pan is inside of the Dome which creates a heat seal and hence the oven effect. As the lid is only 3 inches deep you won’t be able to fit a full chicken under the lid 🙁